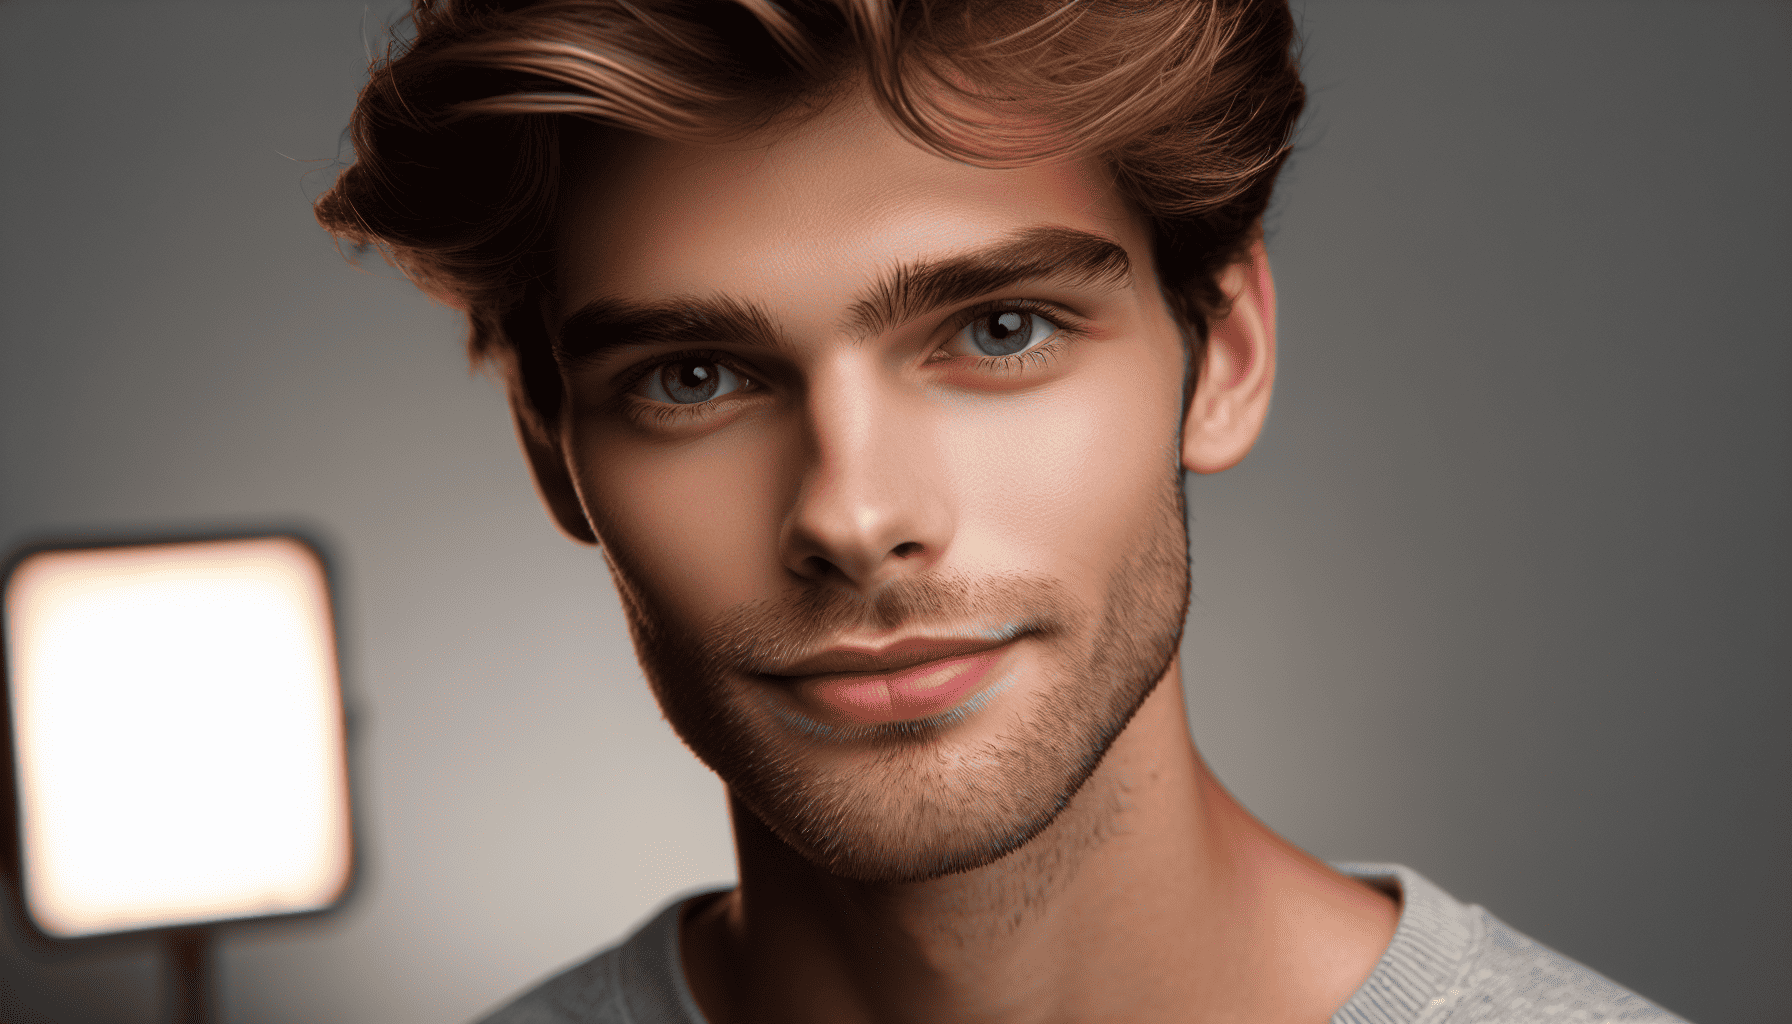
Portrait lighting is one of the most crucial aspects of creating stunning and evocative photographs. Knowing how to control and manipulate light can dramatically alter the mood, dimension, and impact of your portraits. In this guide, we will cover essential lighting techniques, from harnessing natural light to crafting sophisticated studio setups, to ensure your subjects are always beautifully illuminated.
Understanding Light: The Basics
Before delving into specific setups, it’s essential to understand the fundamental properties of light:
- Direction: The angle at which light hits your subject can create different moods and textures. Think of side lighting for drama or front lighting for minimal shadows.
- Quality: Light can be hard, like direct sunlight or a small flash, creating sharp shadows. Conversely, soft light, like on an overcast day or from a softbox, produces gentle, diffused shadows.
- Color: Light comes in various colors or temperatures, from the warm hues of sunrise and sunset to the cool tones of the shade.
Natural Light Mastery
Golden Hour Magic
The "Golden Hour" refers to the period shortly after sunrise and before sunset when the sunlight is soft and warm. This light is perfect for portraits as it flatters the skin tones and creates a natural, aesthetically pleasing glow.
Tips:
- Position your subject with the sun behind them for a beautiful backlight effect, creating a halo around their hair while reducing harsh shadows on their face.
- Use a reflector to bounce light back onto the subject’s face, filling in shadows and adding a sparkle to the eyes.
Overcast Advantages
Cloudy days act as a giant diffuser, softening sunlight and providing even, flattering light across your subject’s face. The absence of harsh shadows makes it easier to capture details and expressions.
Tips:
- Utilize the soft light to shoot longer sessions without worrying about changing light conditions.
- Play with locations that have consistent background tones to emphasize the subject.
Indoor Natural Light
Natural light isn't limited to outdoor photography. Indoor environments provide numerous opportunities for dynamic portrait shots using window light.
Tips:
- Position your subject near a window with indirect light for soft and flattering illumination.
- Use curtains or blinds to diffuse the light further if it’s too harsh.
- Experiment with different angles and distances from the window to create various lighting effects.
Artificial Lighting: Studio Setups
Studio lighting gives complete control over the environment and consistency in your portraits. Here are some fundamental setups:
One-Light Setup
A single light source is perfect for beginners and can produce stunning results. The most common one-light setup involves using a softbox or umbrella.
Tips:
- Position the light at a 45-degree angle from the subject for classic Rembrandt lighting, characterized by a triangle of light on the shadowed cheek.
- Adjust the height to determine where shadows fall, emphasizing different facial features.
Two-Light Setup
Adding a second light opens more creative possibilities. A common two-light setup includes a key light (the main light source) and a fill light.
Tips:
- Place the key light at a 45-degree angle and the fill light on the opposite side, at a lower intensity, to soften shadows and reduce contrast.
- Experiment with using the second light as a hair light or background light to add depth and separation from the background.
Three-Light Setup
A three-light setup can include a key light, fill light, and a background or hair light. This configuration provides extensive control and the ability to sculpt your subject with light.
Tips:
- Use the third light to illuminate the background or add a rim light effect, highlighting the edges of your subject.
- Balance the intensity of the three lights to achieve the desired look without overexposing or underexposing any part of the portrait.
Additional Tips for Mastery
Light Modifiers
Utilizing tools like reflectors, diffusers, grids, and gels can significantly impact your lighting. Reflectors can bounce light into shadows, diffusers can soften harsh light, grids can focus the light to a specific area, and gels can add color temperatures for creative effects.
Positioning and Posing
Work with your subject to find the best angles and poses. Good lighting will highlight features and minimize imperfections, but composition and posing play equally critical roles in the final result.
Practice and Experimentation
The key to mastering portrait lighting is continuous practice and experimentation. Each subject and environment is unique, requiring creative and adaptive approaches.
By understanding and implementing these techniques, you can ensure that your portraits are well-lit, compelling, and professional. The more you practice and experiment with different lighting setups, the more you will develop an intuitive sense of what works best for each situation. Happy shooting!
